Make your personal drone fly even farther with a 4G network connection
Civilian drones usually have a very short flight radius, but our developer Charlie solved that problem by controlling his drone copter via a 4G network connection.
The Unmanned Aerial Vehicle (UAV), also known as the drone copter, is an increasingly popular technology in China, as much as it is in the United States. Not only is DJI becoming the biggest UAV company (The Economist said it’s leading the civilian drone industry), but the open source UAV community is growing rather healthily as well.
Thanks to companies like DJI (almost exclusively thanks to DJI), nearly everyone can take home a rather inexpensive UAV for aerial photography or playing with as a toy. Helping the community is 3D Robotics (3DR), who allow us to build a UAV using awesome open source flight control systems APM and PX4. With everything they need provided so well, people have more choices on what their UAV will be like.
As a developer, I like open source UAV technology about as much as I like my girlfriend, but don’t tell her that. Even though I’m not a very good UAV pilot, I know how to operate them and most of their myriad pros and cons. So, after some research and planning, I made my very own hexacopter that can be controlled via a 4G network connection.
First of all, we’d better have some basic knowledge about UAVs. They can consist of many different parts: a fuselage and wings for fixed-wing planes; a tail rotor for helicopters; a canopy, frame and arms for multicopters (or multirotors). I made a multicopter for this experiment given the advantages of multicopters laid out on Wikipedia:
An advantage of multirotor aircraft is the simpler rotor mechanics required for flight control. Unlike single- and double-rotor helicopters which use complex variable pitch rotors whose pitch varies as the blade rotates for flight stability and control, multirotors often use fixed-pitch blades; control of vehicle motion is achieved by varying the relative speed of each rotor to change the thrust and torque produced by each.
More rotors make it easier to control a multicopter than most other kinds of UAVs. Multicopters on the market today can be divided into tricopters, quadcopters, hexacopters, and octocopters, which refer to 3-, 4-, 6-, and 8-rotor helicopters. I chose to make a hexacopter because it’s more energy-efficient than octocopter and it’s safer than a tricopter or quadcopter, because once a rotor stops working, the other two rotors on the same side could replace it by generating more lift force.
Almost all the UAVs are radio-controlled aircraft (or RC aircraft). That is, the UAV is controlled remotely by an operator on the ground using a hand-held radio transmitter. The transmitter communicates with a receiver in the craft that sends signals to servomechanisms (servos) which move the control surfaces based on the position of joysticks on the transmitter. The control surfaces, in turn, affect the orientation of the UAV.
The maximum distance of most civilian UAVs is less than 5 miles, unless you have a bigger antenna on your transmitter. This is a huge problem for UAV RC because you may lose your aircraft if you lose control of it for even a few seconds. Thanks to that almost all UAV flight control systems nowadays have a built-in failsafe: once the UAV loses connection with the transmitter, it attempts to return to its home point. However, this doesn’t solve the problem of max distance.
As an alternative to radio control, using a 4G network connection seems to eliminate the problem of distance. That means the drone can fly several miles away from its controller’s location. That’s one less disadvantage for using UAVs in some of the more important scenarios, like patrolling and search & rescue.
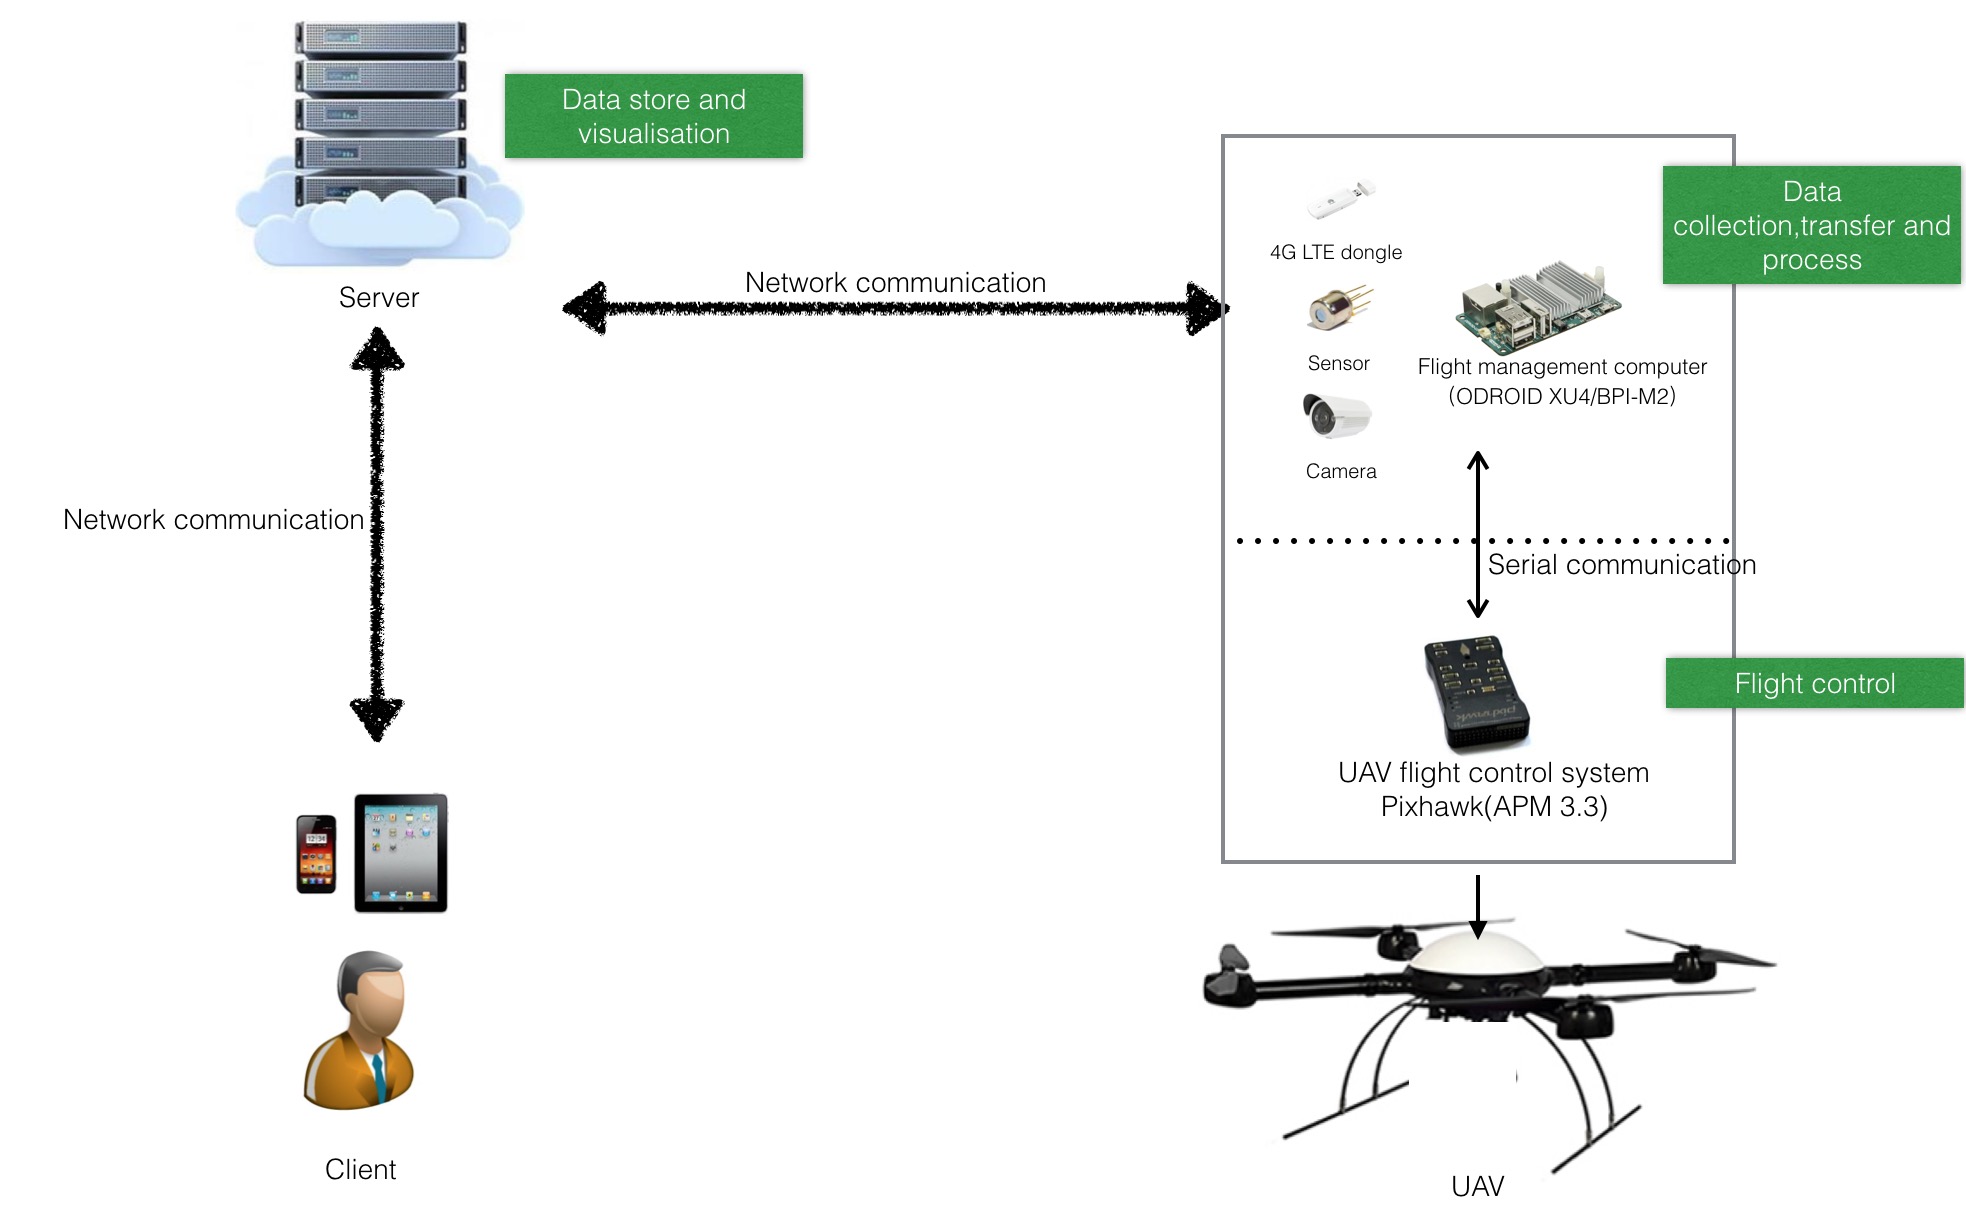
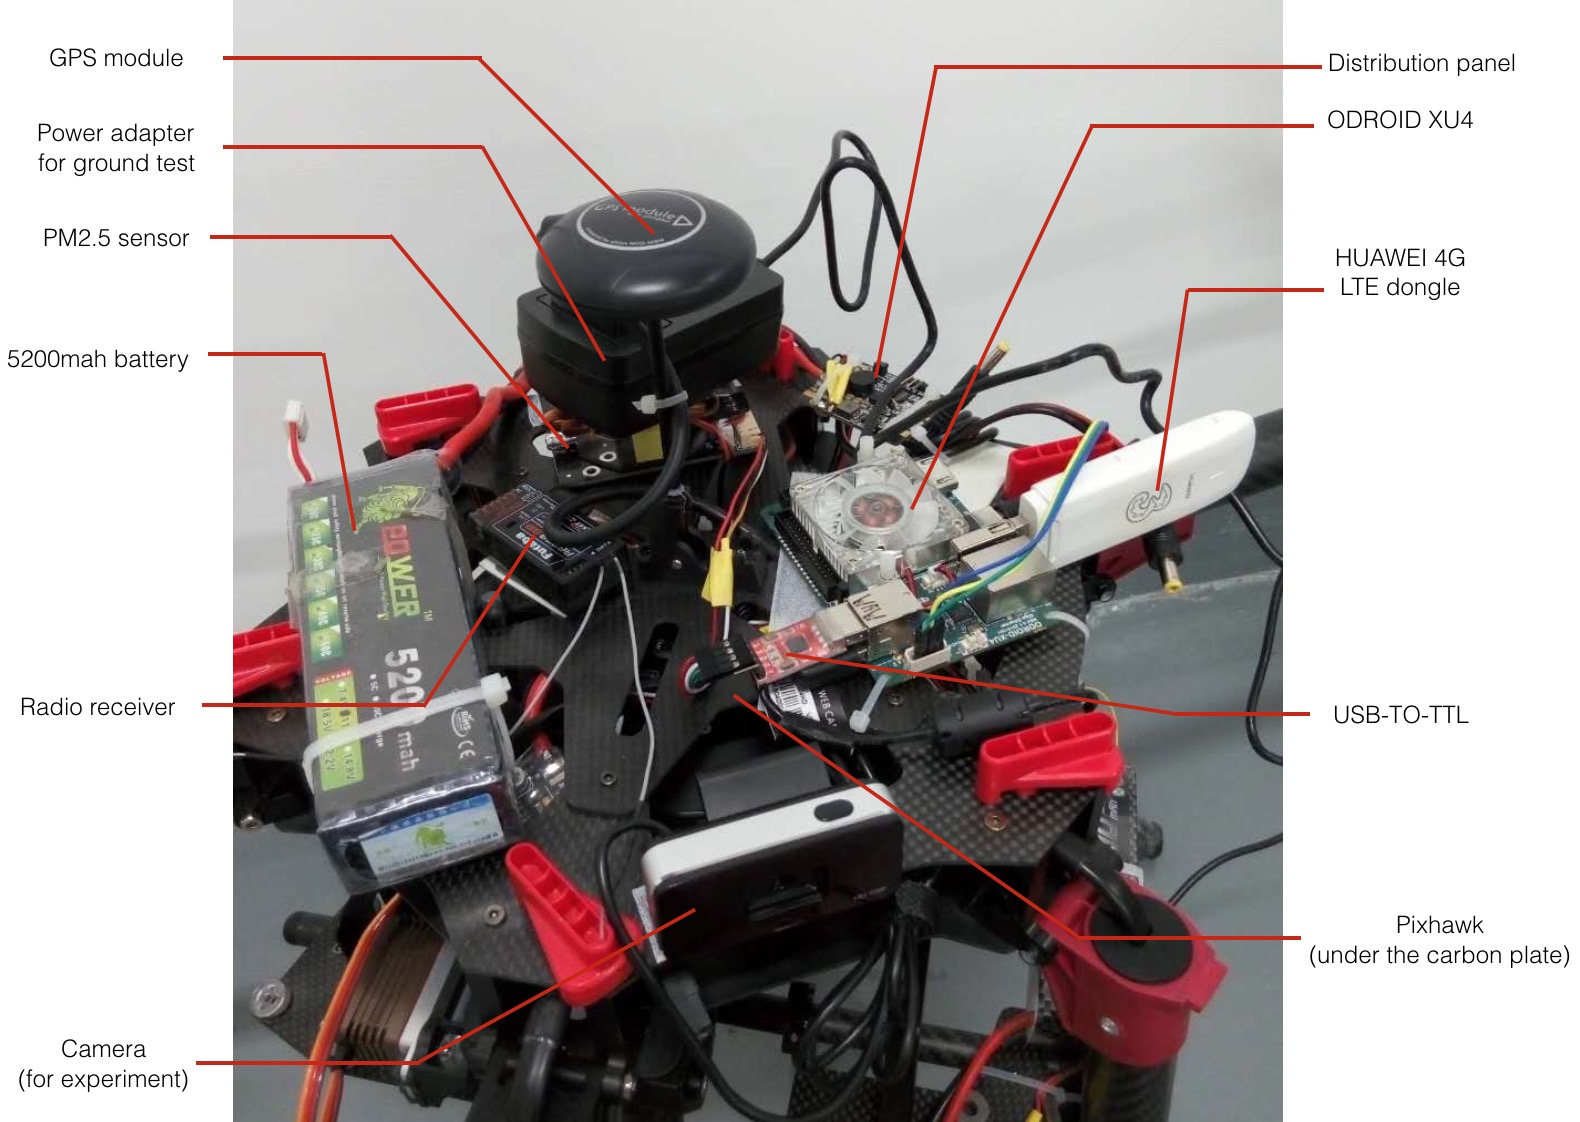
For my drone copter, I use a companion computer (a single-board CPU) to control Pixhawk (a open source flight control system device of 3D Robotics) directly, and the companion computer gets feedback and data from it. As the companion computer is a wholly functional computer, the data it receives can be stored locally or sent to a server through 4G LTE dongle. That’s my trick for beating the distance problem of using RC.
I used a PM2.5 sensor to collect all real-time data. The companion computer snatched up the data and sent it back to server every second, while simultaneously receiving the latest commands from server and forwarding them to Pixhawk for execution. As you’ll see below, the companion computer plays a role of flight manager, responsible for collecting, storing, and sending data, while the Pixhawk board serves as the flight control system. These two pieces are the most important parts in a UAV, much as they would be in real planes.
What goes into building a 4G-connected hexacopter?
Equipment
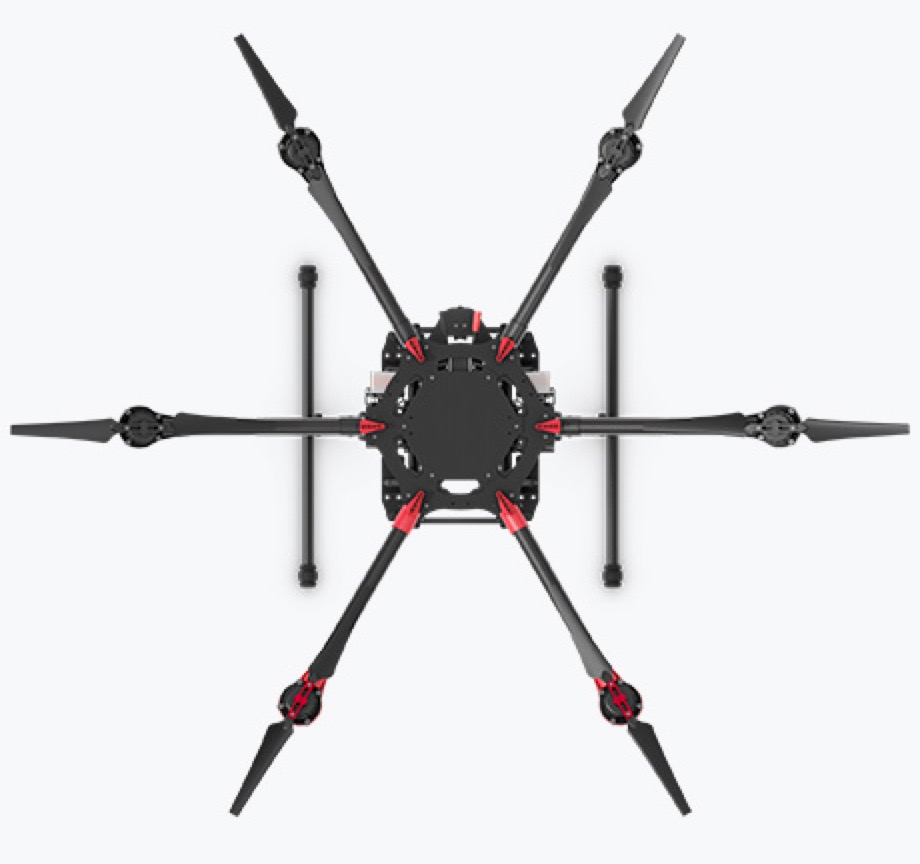
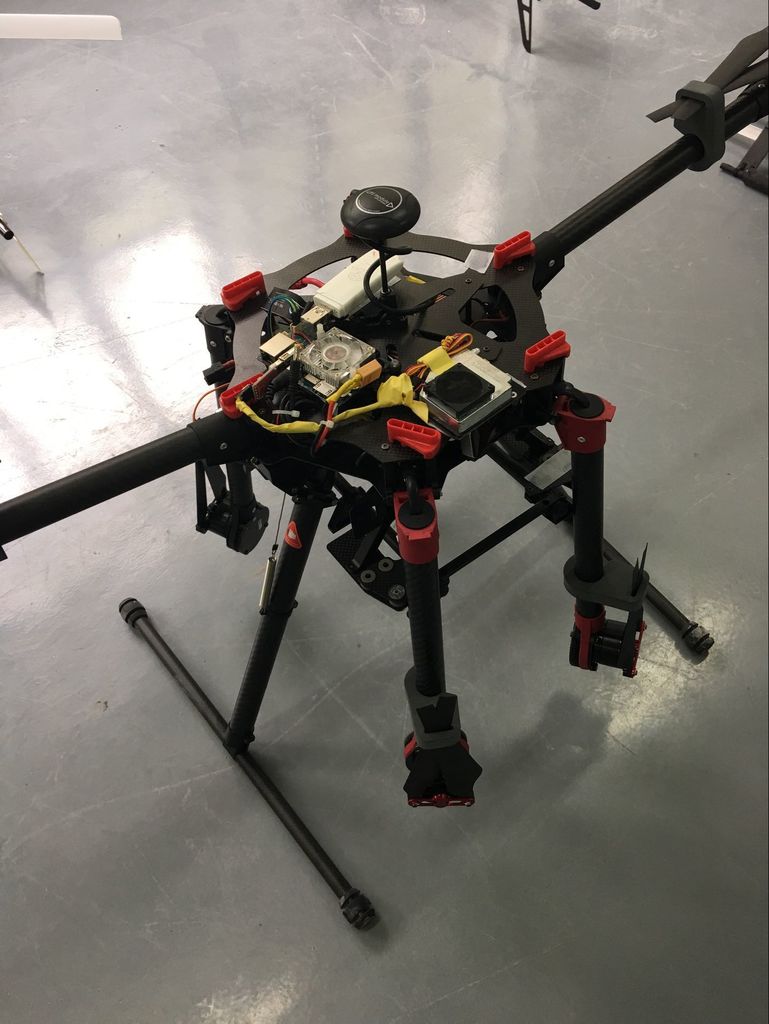
- Aircraft body: DJI S900
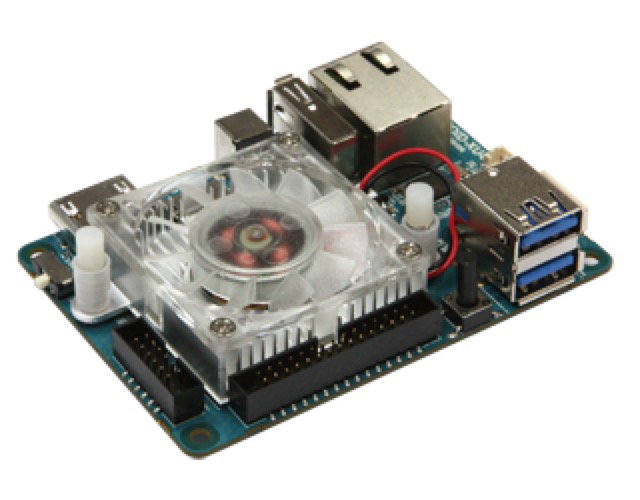
- Companion computer: ODROID XU4/BPI-M2/BPI-M2) with an Ubuntu operating system
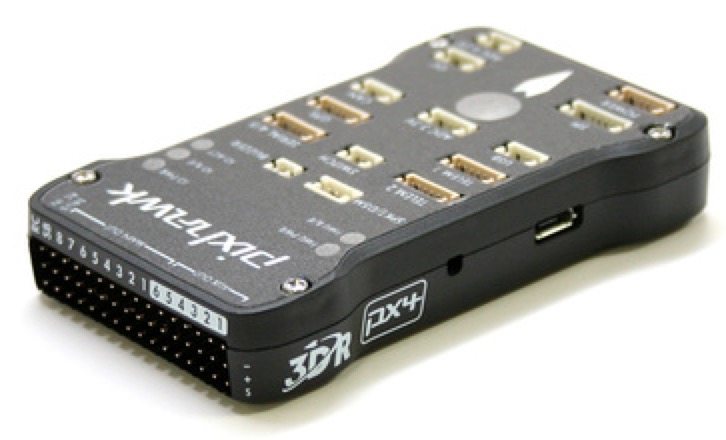
- Flight control board: Pixhawk(with APM/PX4)
- Fittings of Pixhawk: GPS module, buzzer, switch, etc.
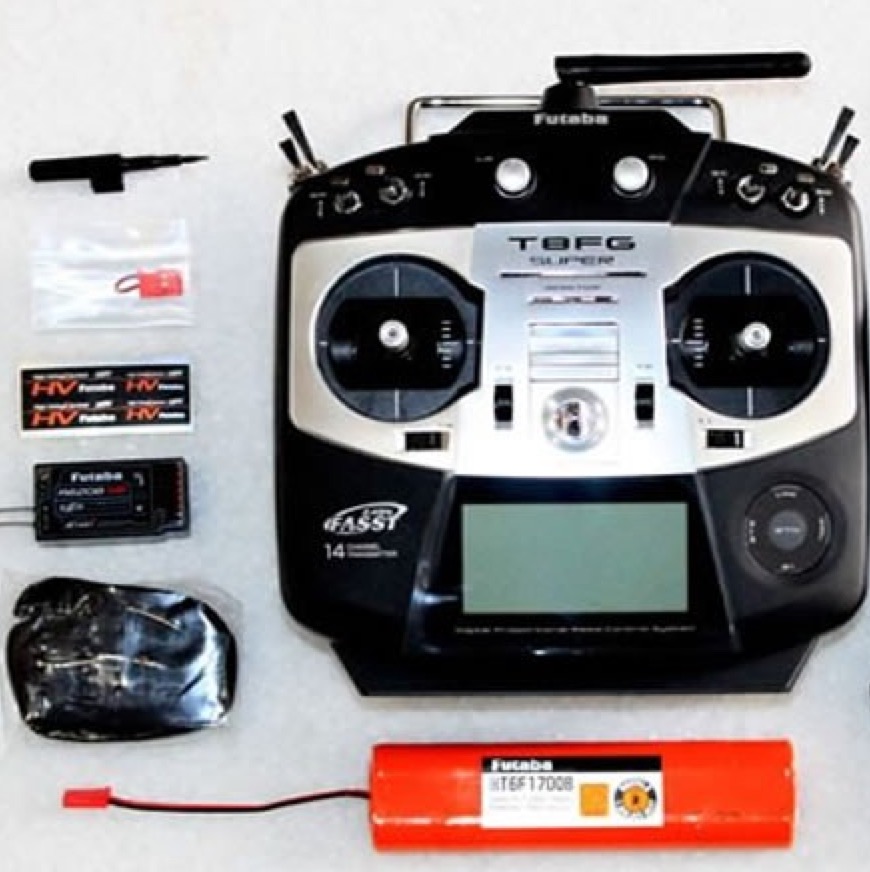
- Futaba T8FG transmitter and receiver
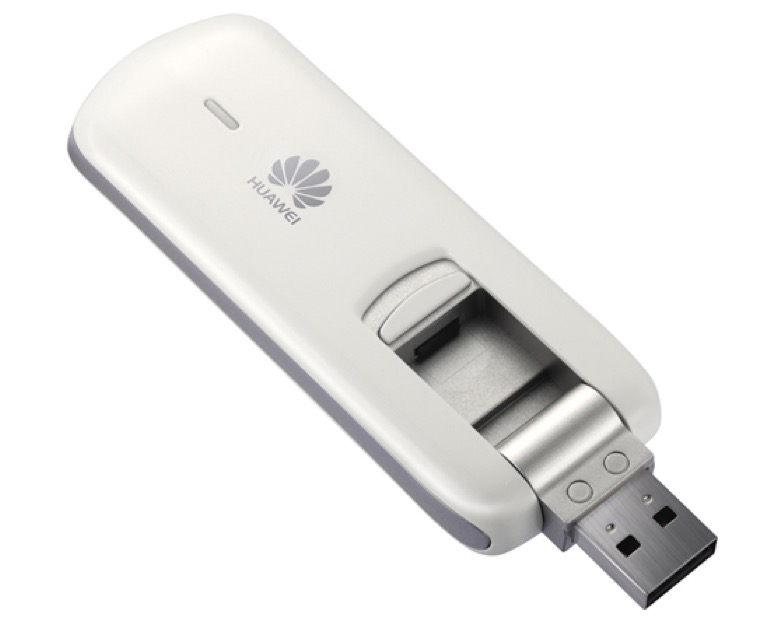
- HUAWEI E3272 4G LTE dongle
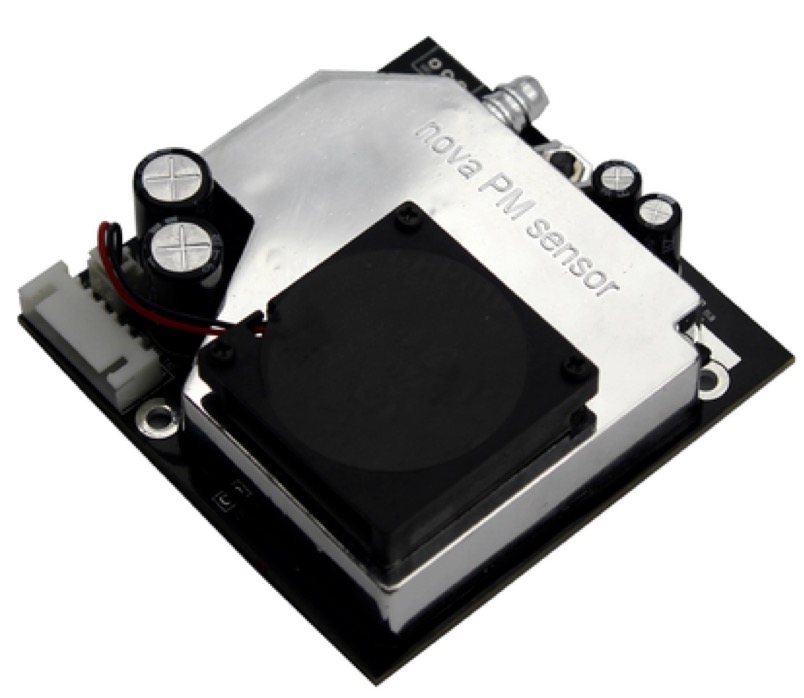
- Nova SDS011 PM2.5 sensor
- 5200 mah battery (for companion computer) and 16000 mah battery (for Pixhawk and rotors)
- TTL2USB module
- Dupont lines
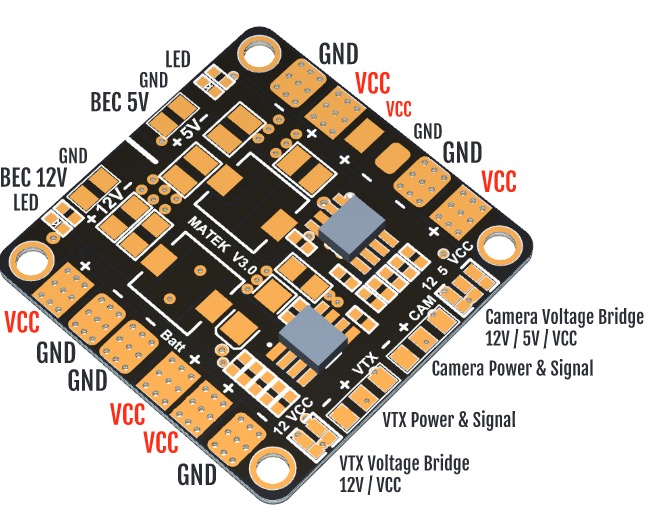
- Matek mini power hub (DIstribution board)
Architecture
Setting up the hexacopter
- Set up DJI S900 framework: Follow this instruction book.
- Prepare Pixhawk: Install firmware (PX4 or APM) and calibrate the on-board sensors with Mission Planner.
- Set up Pixhawk on the S900: Pixhawk should be at the center of the S900 center plate, making sure that the Pixhawk head faces the right direction. Also, make sure the rotors of PX4/APM firmware to mapped to the DJI S900 in the correct order.
- Test the UAV: Connect Pixhawk with the signal receiver and other fittings, open the handheld radio transmitter, connect the battery, and power up the drone. Then arm the UAV, check if everything is working, and, finally, do a test takeoff.
- Set up ODROID XU4: I installed Ubuntu 15.04 OS on my board with an eMMC module, but you can actually install whatever OS you want.
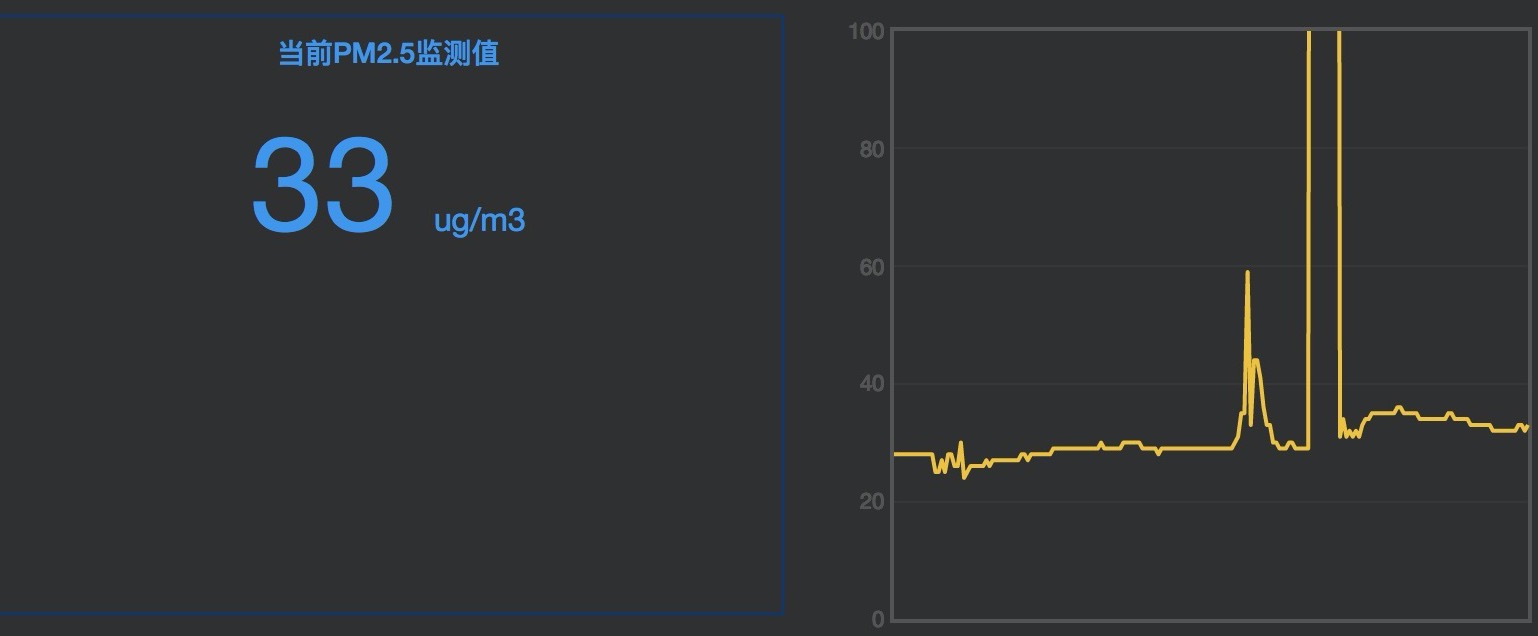
- Connect the PM2.5 sensor with XU4: To connect the PM2.5 sensor output data with the serial port, we need to make a line with Dupont wires and the TTL2USB module to establish serial communication between the sensor and XU4. Make sure to connect 5V, GND, RX, and TX connectors to the right port on the TTL2USB module. Next, connect the sensor and XU4. As the sensor exports PM data with specific protocols from the serial port every second. I wrote a Python tool to read PM2.5 data from it. When you see something like the data below, you’ll know it’s working. This is supposed to run on the XU4:
14:59:52 PM2.5:  35
14:59:53 PM2.5:  36
14:59:54 PM2.5:  35
14:59:55 PM2.5:  35
- Power the XU4 with power hub: The battery of 5200 mAh has a 12V output which is too high to power the XU4 and PM2.5 sensor, that’s why we need Matek distribution board which has a 5v output. By the way, the sensor can be powered directly through USB port.
- Connect the XU4 with Pixhawk: Follow the official manual for this part.
- Communication between Pixhawk and the XU4: Thanks to the 3DR development team, we can use Mavproxy or Dronekit to establish communication between Pixhawk and the companion computer easily. (Mavlink is a protocol designed to communicate with Pixhawk). Mavproxy and Dronekit are both open source software. I made an APM connector (APMC) based on Dronekit and used it to give direct orders to Pixhawk like get parameters, take off, and move. This is a project still under development; I’m working to finish the mission-setting part.
Server
The idea is that the UAV sends data to the server and gets constant feedback, while the server collects data from the drone and then gives back mission assignments. I built a server demo with totalVue which is a combination of total.js and vue.js frameworks, which has enough for me to do all the backend and frontend work for this experiment.
For now, we have a fully functional hexacopter, so the only thing we have left to do is to direct the companion computer to send HTTP requests (POST) to the server every second with its data, including the PM2.5, location, timestamp, drone state, and more. Then the XU4 gets return messages from the server as the current set of orders and passes it to Pixhawk.
The most important thing for this server to do is to make use of the received data and interact with the users. Users should be able to see their UAVs’ state on the server once they’re online. Also, users should be able to set current orders for their drones. Each order, from server to UAV, should have a unique ID. Once the UAV gets the order, it’ll check the ID to tell if it was the latest one. If it isn’t, it’ll ignore it.
Problems and discussion
Network connection through 4G can be very unstable and the IP address of every UAV changes whenever it crosses into a new cellular network. We can’t locate the IP address of each individual UAV, but the IP address of server is static. So, the companion computer on each UAV sends its data (including the drone’s state, location, etc.) to the server continuously via the 4G LTE dongle.
Network delay is always a problem and it’s more important for controlling a drone. Real-time control via network requires good network conditions, ideally 4G LTE, but it’s practically impossible to promise that the network will always be that good.
To combat this problem, I use a mission control method. Every time the UAV sends a request to server, it receives a mission (a list of commands) from the server and then carries them out. With this protocol, users only need to care about what mission to give next or terminating the current mission. Most of the time, users simply need to wait and see the data received from the UAV.
This experiment was inspired by 4Gmetry III and I learned a lot from drone enthusiast Silvio’s blog. 4G network control of a UAV would be very useful in many situations.
There are still a lot of situations and problems that I did not address, like what happens if the UAV lost connection with the server or if there’s no 4G network at all. Since I did this experiment in my spare time, I’m still trying to make it better. If you have any advice, please feel free to give me a shout. You can also find me on Weibo if you’re familiar with reading Chinese.
Stay tuned
Follow our newsletter or our WeChat account; every other week you'll receive news about what we're up to, our events and our insights on digital products, omnichannel, cross-border ecommerce or whatever the team fancies.
-
Add us on WeChat

-
Subscribe to our newsletter