Designing offline to online experiences
What we learned from putting users in front of very big touchscreens
We’re known mostly for our work with software, whether it’s with machine learning, mobile and WeChat apps or DevOps and micro-services. We have however been increasingly investing into hardware products in the past year.
The way we partner with our clients demand that we run projects like startups of their own; we bring our expertise creating and growing digital products in fast iterations with a strong emphasis on the user.
We’ve worked in challenging environments before, while creating the software for the elections of Myanmar for example. But we’ve found that when hardware is involved, things can get an order of magnitude more complicated.
Digital ecosystem for a new flagship store
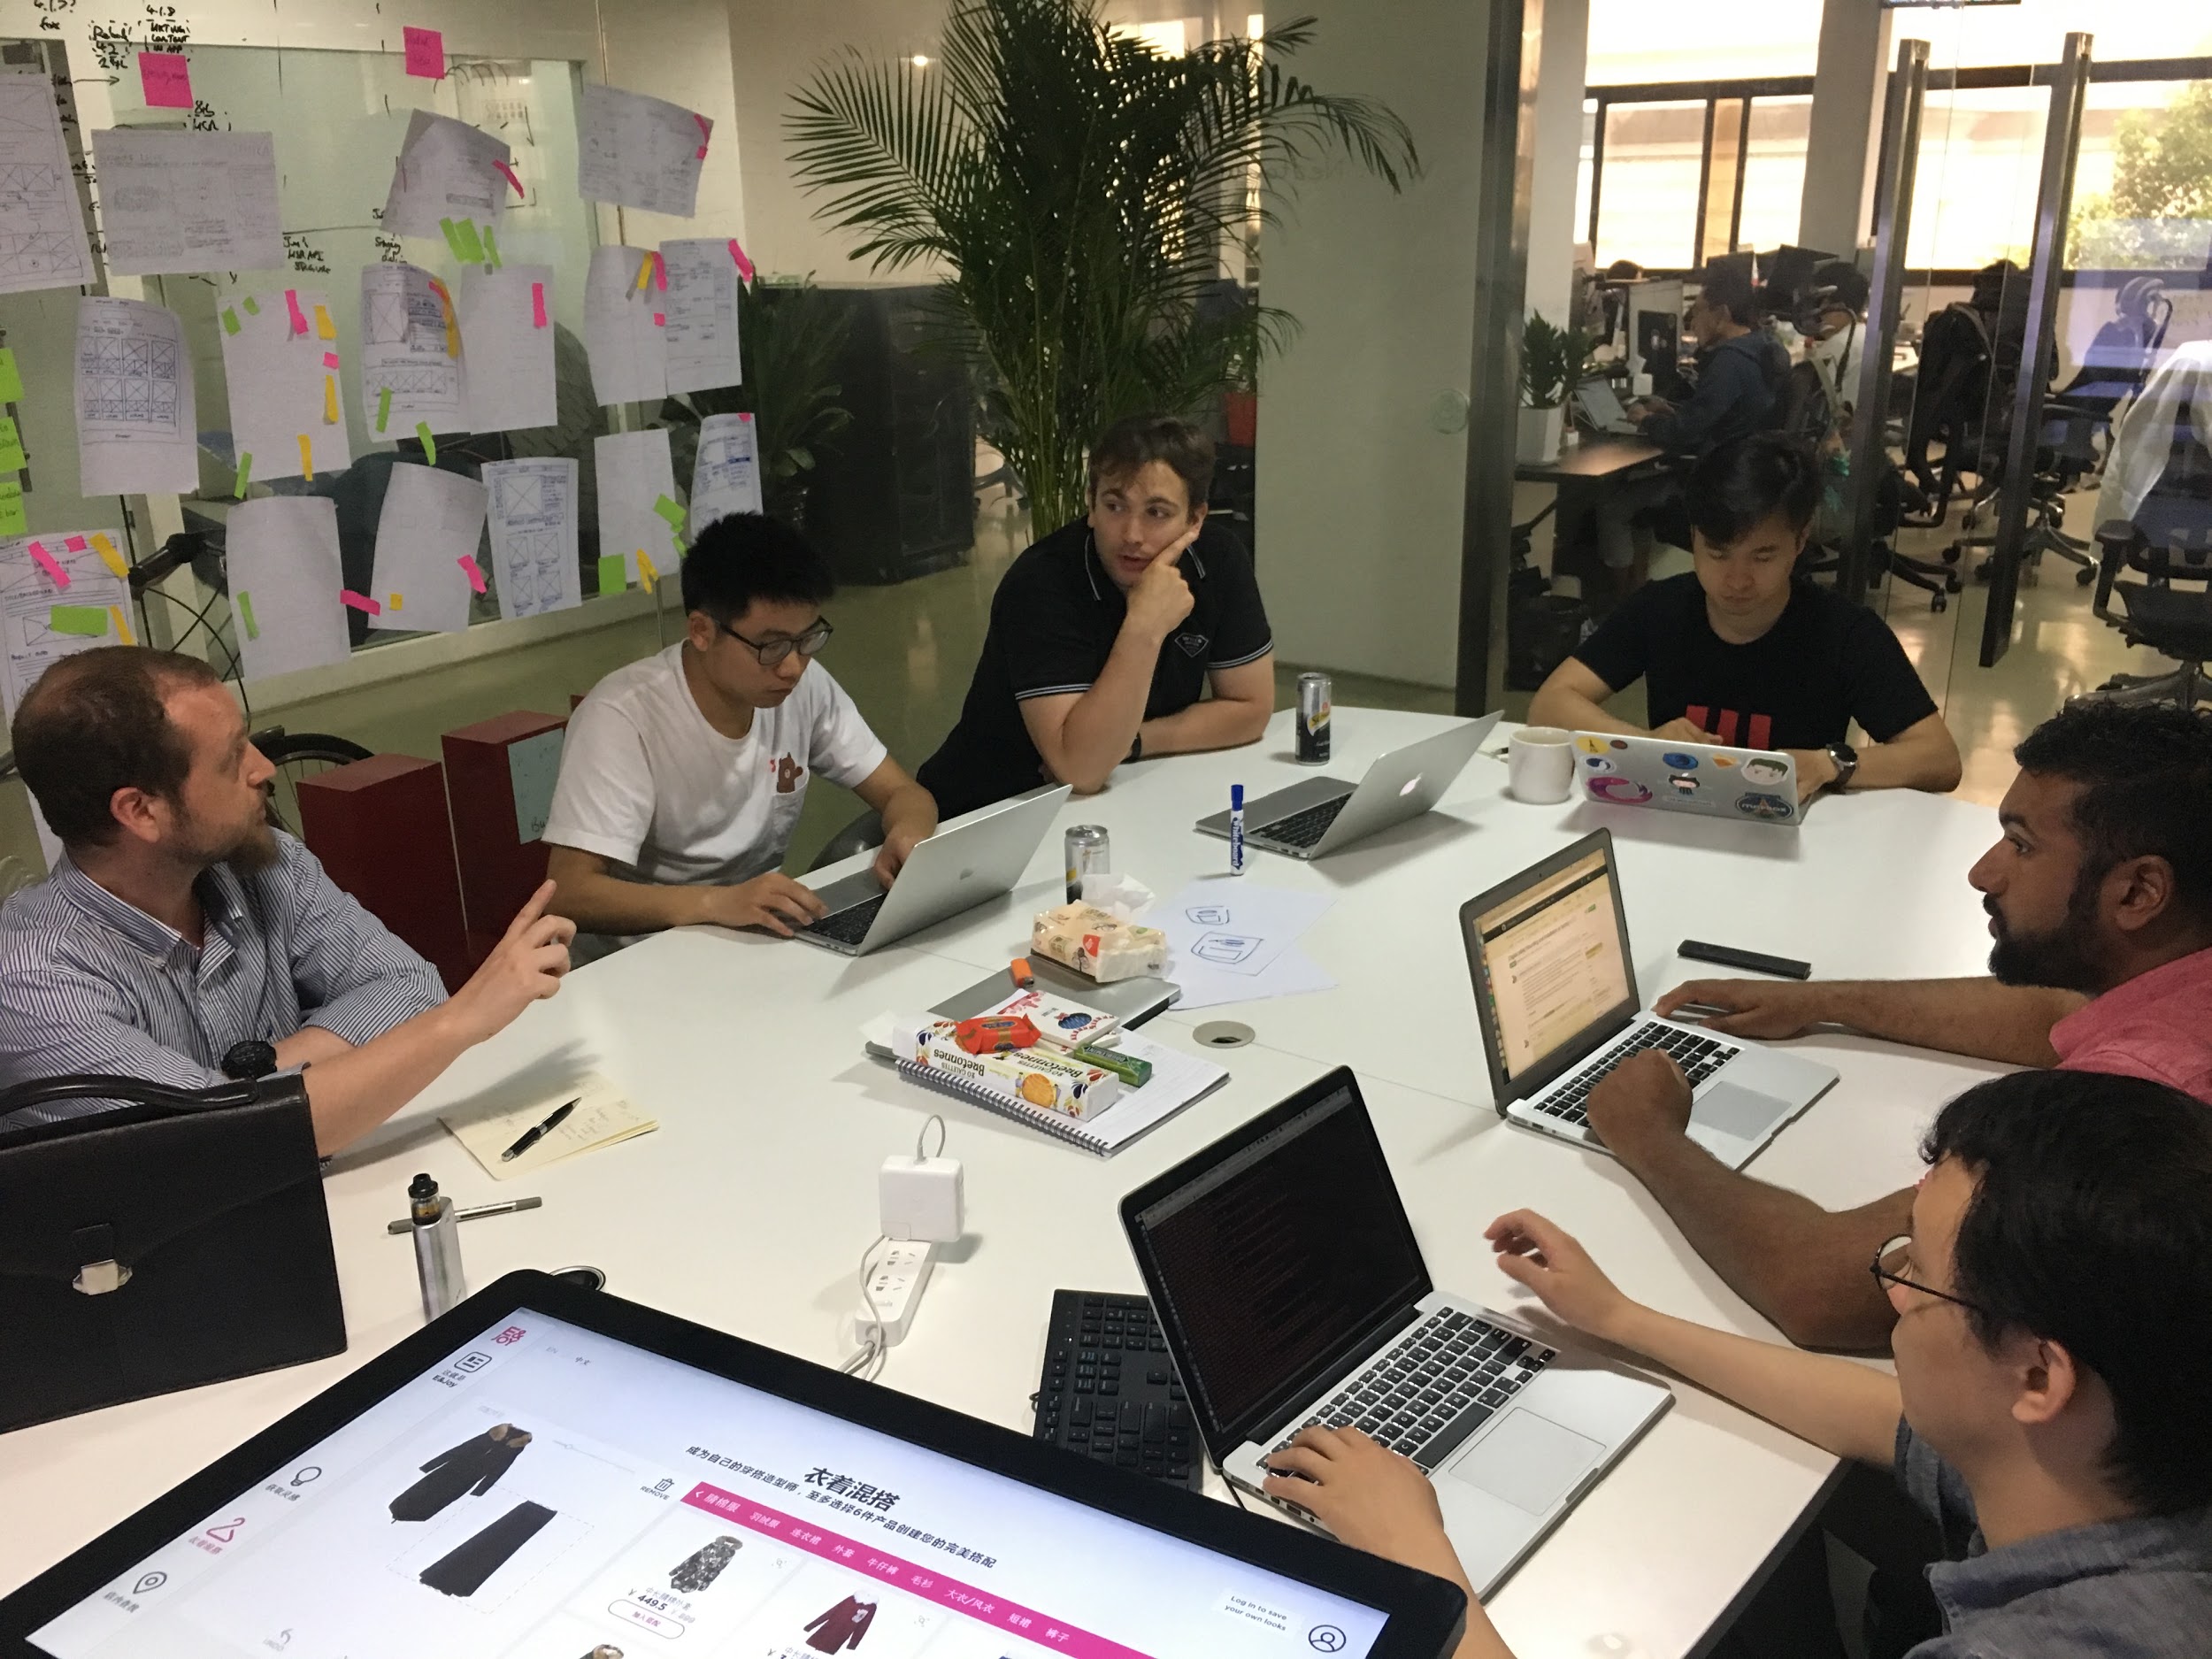
Etam approached us end of last year to help them design the digital experience of one of their new flagship store, E&JOY, in Shanghai.
The goal was to create a new retail experience with offline to online elements to engage customers and a digital to managing the store and products.
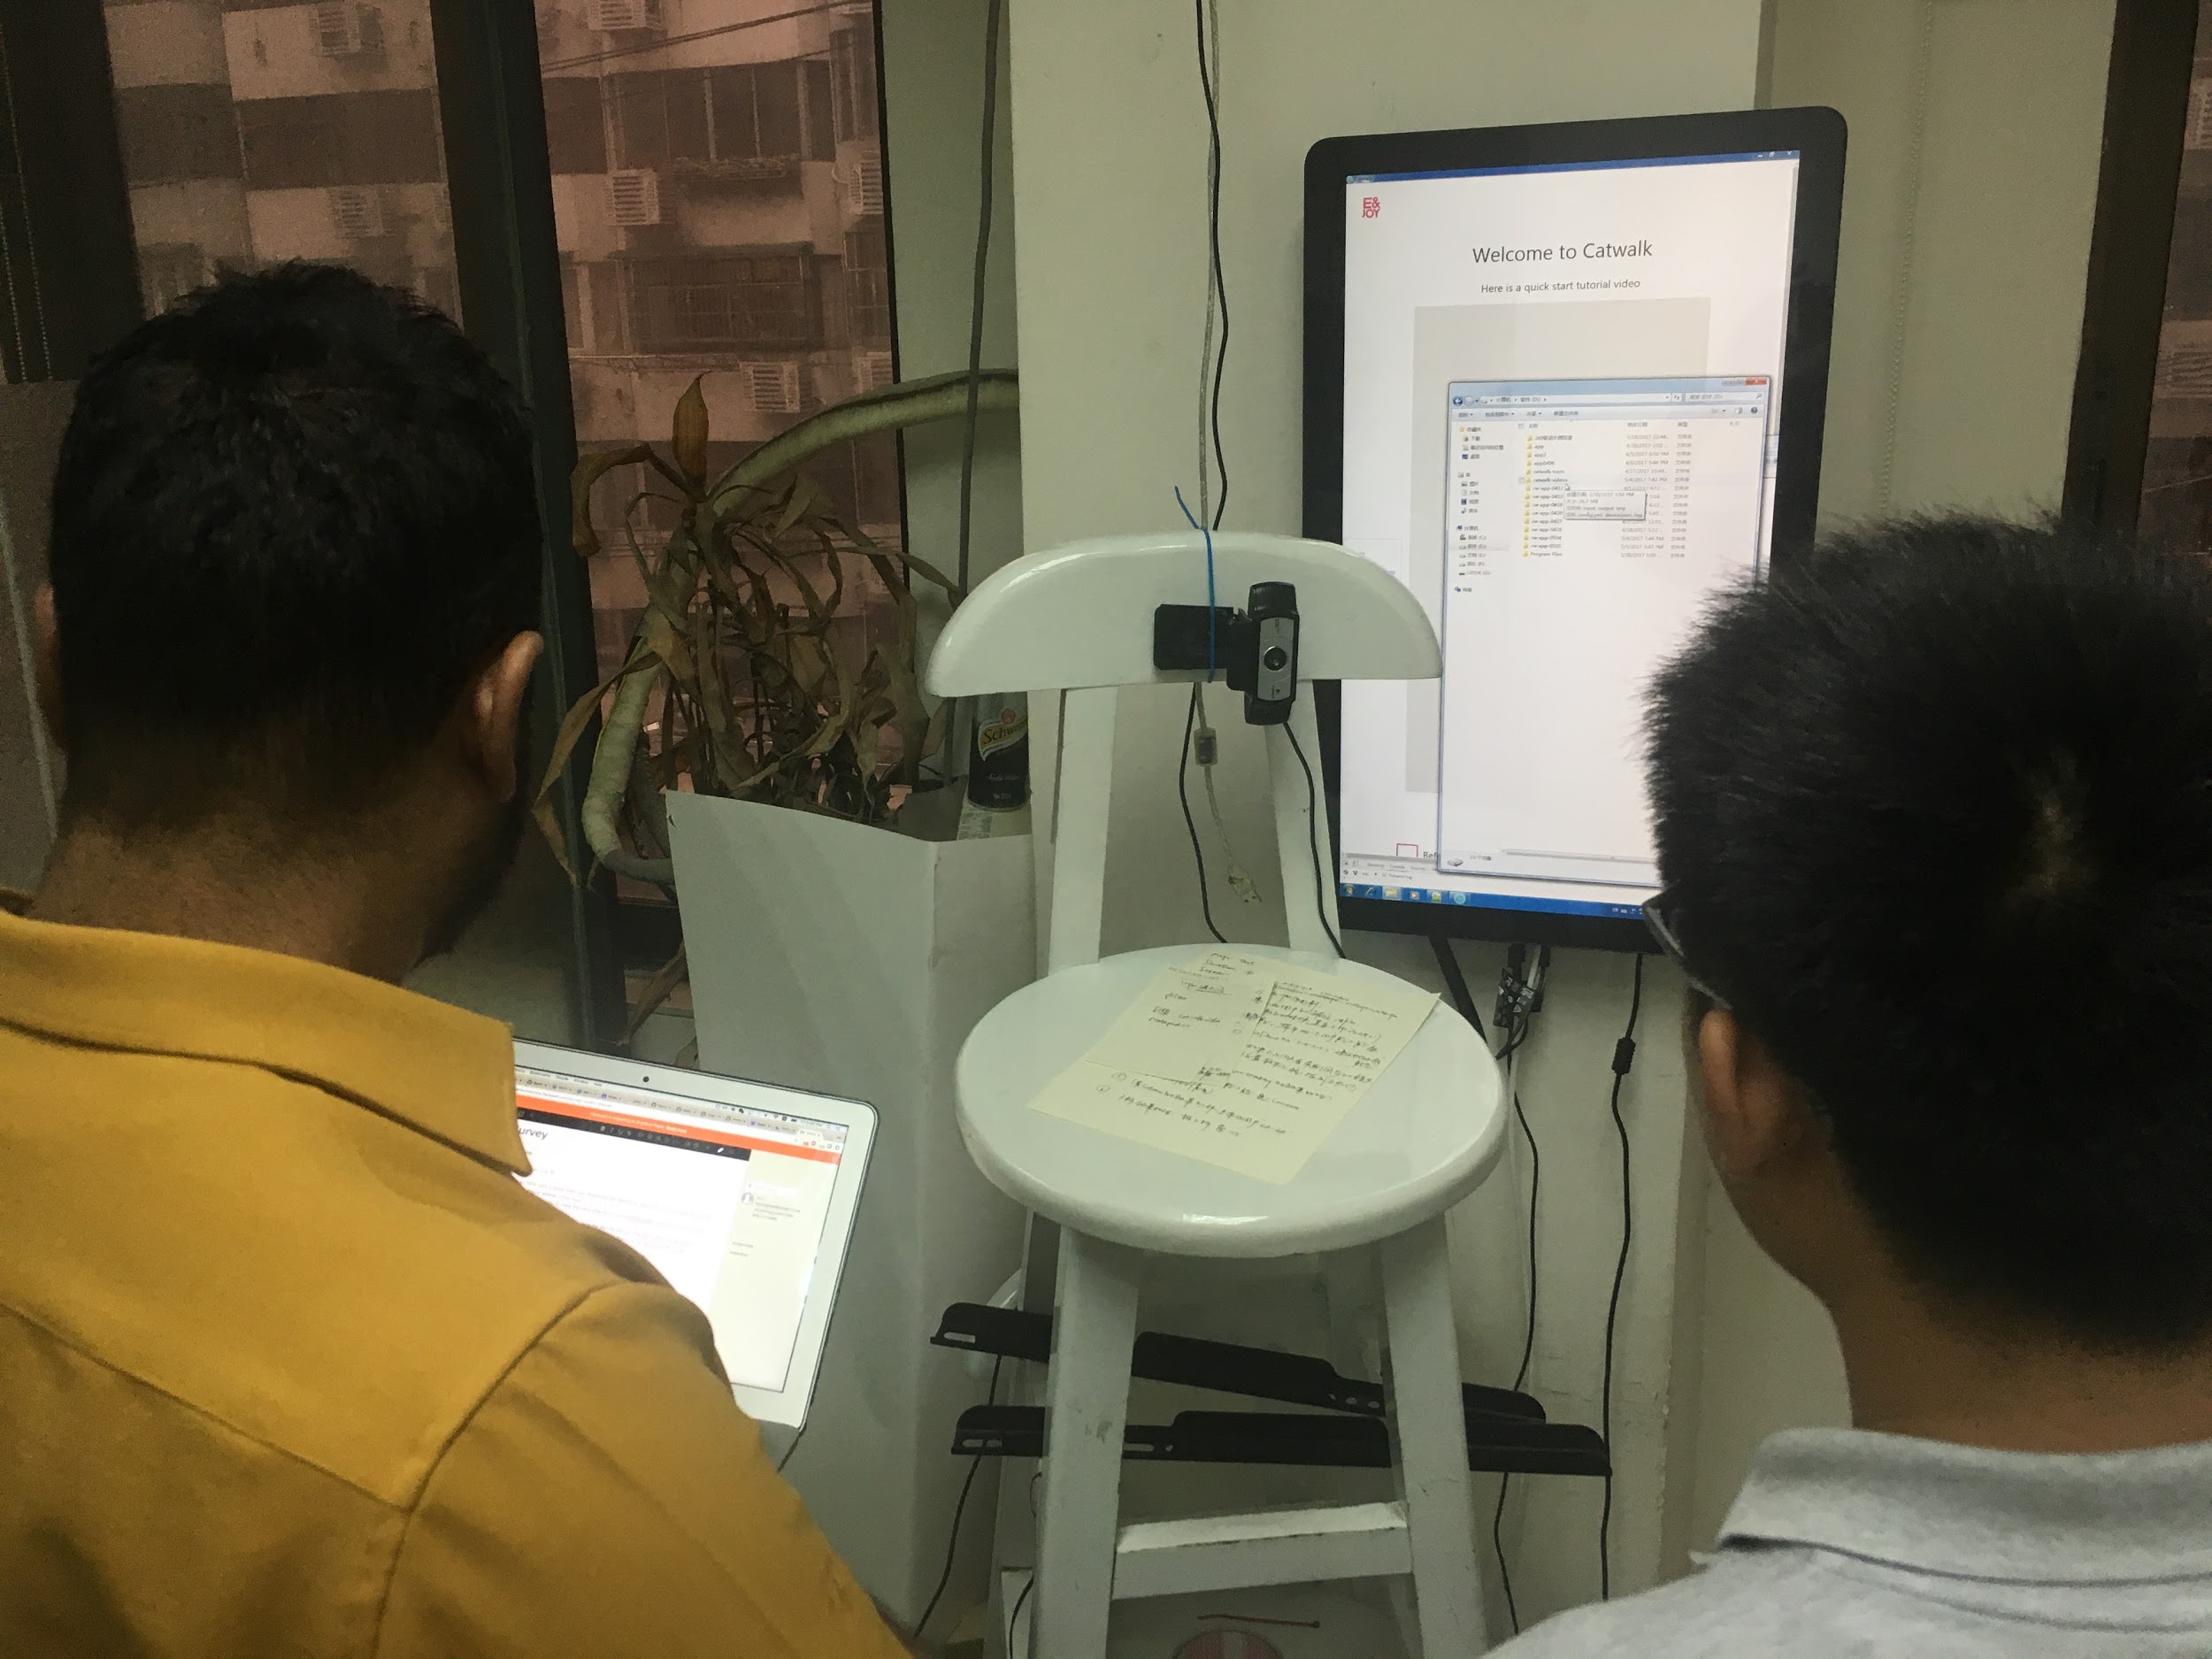
The result of over 6 months of work included a series of digital tables allowing customers to explore and select outfits mapped to the store, a catwalk booth aloowing them to share a video of them wearing the outfit through a WeChat app, and stock/furniture management through a visual merchandising app that worked in concert with bar-code scanners.
What we learned
Being one of our first serious hardware projects, we thought we’d share a few lessons we learned on the way.
Lesson 1: Constraints are very different
When you only deal with software, your constraints are fairly well defined; you need to support a collection of screen sizes. Not always trivial, but not too challenging either.
With hardware, you very quickly learn that there are a lot more factors to take into account. The environment itself limits you (e.g. the max size of the table, the lighting) but users may also surprise in how they interact with the experience you designed.
Lesson #2: You get “genuine” user feedback

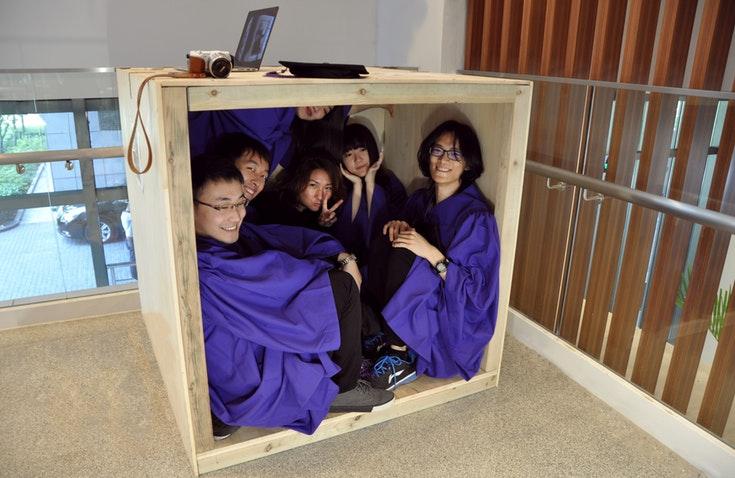
Validating our assumptions with users is at the core of our product design process. When working with physical installations, users communicate their feedback in a much more immediate and concrete way; they touch, move, laugh, swear in a way that isn’t usual on common devices.
Lesson #3: Users are shy and less attentive
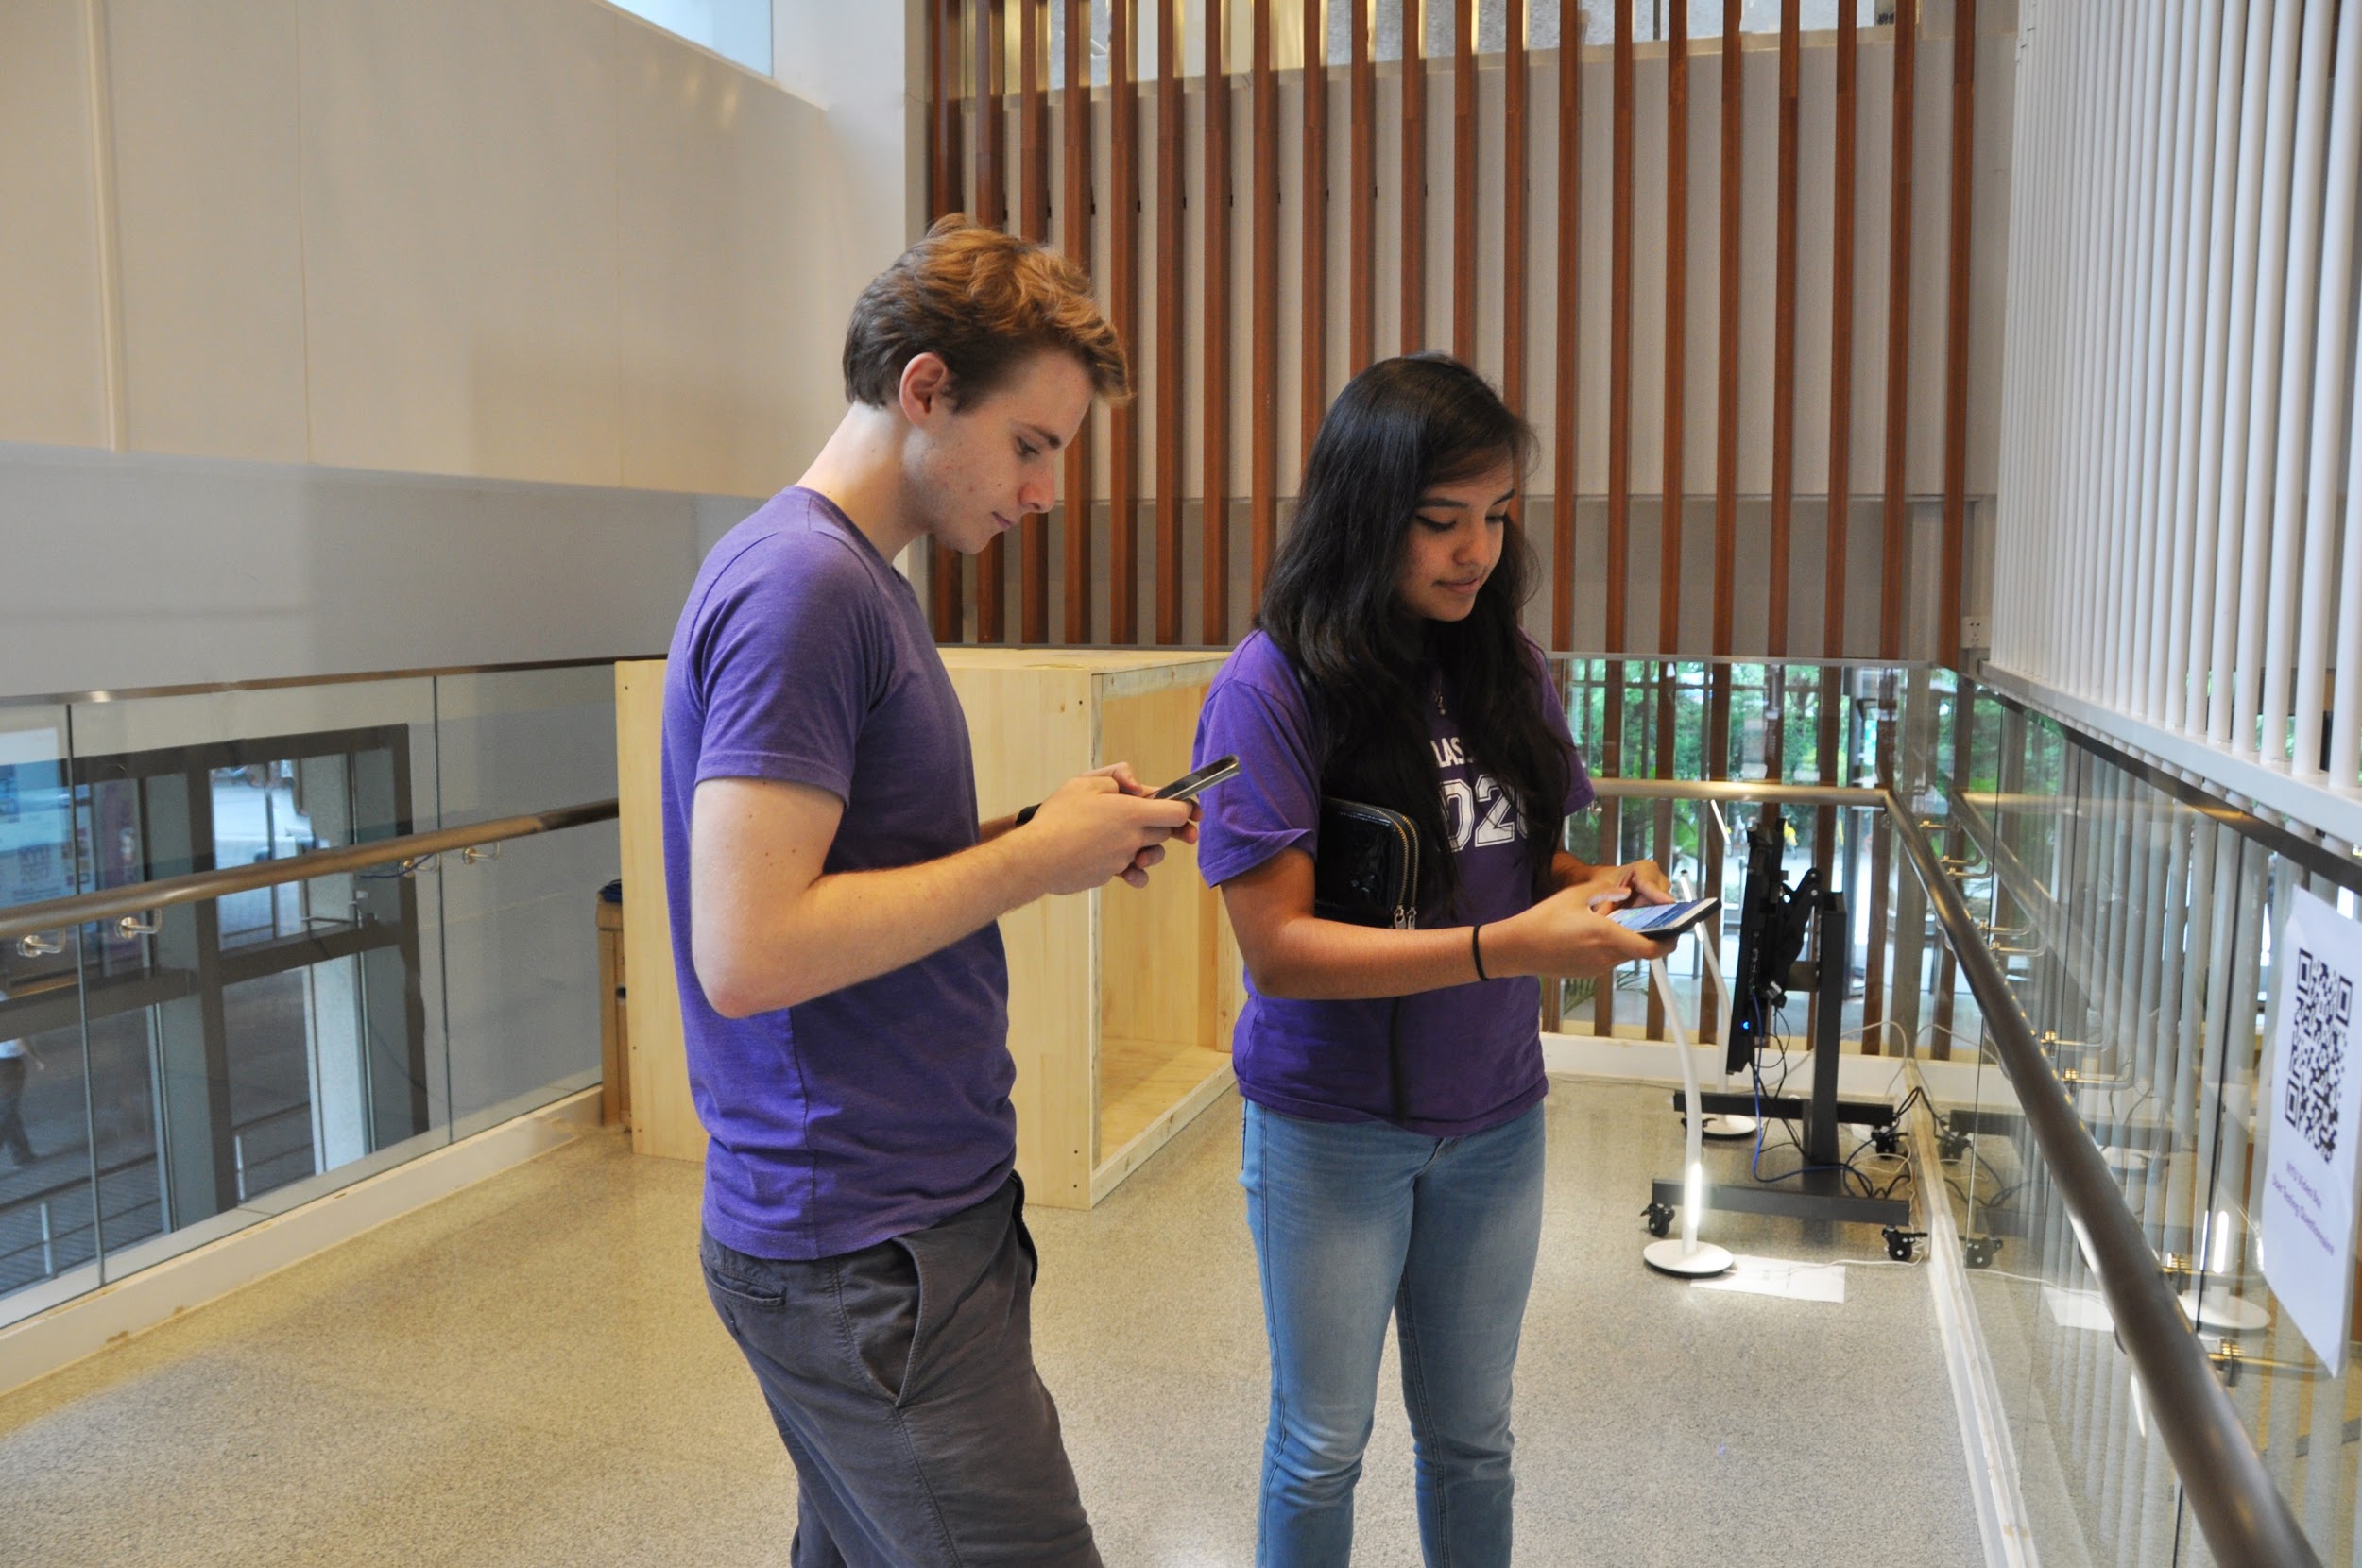
For apps, we often run our user testing sessions by screen sharing (using for example Google Hangout).
When you’re dealing with a physical space, users tend to be a little more shy. You’ll need to leave them alone to immerse themselves and interact with your product.
Assume as well that they’ll be a lot less attentive to things like text. They want to touch. Use big fonts, animations, graphics, etc, to draw attention. There are a lot of ressources online about this.
Lesson #4: You’ll need a lab
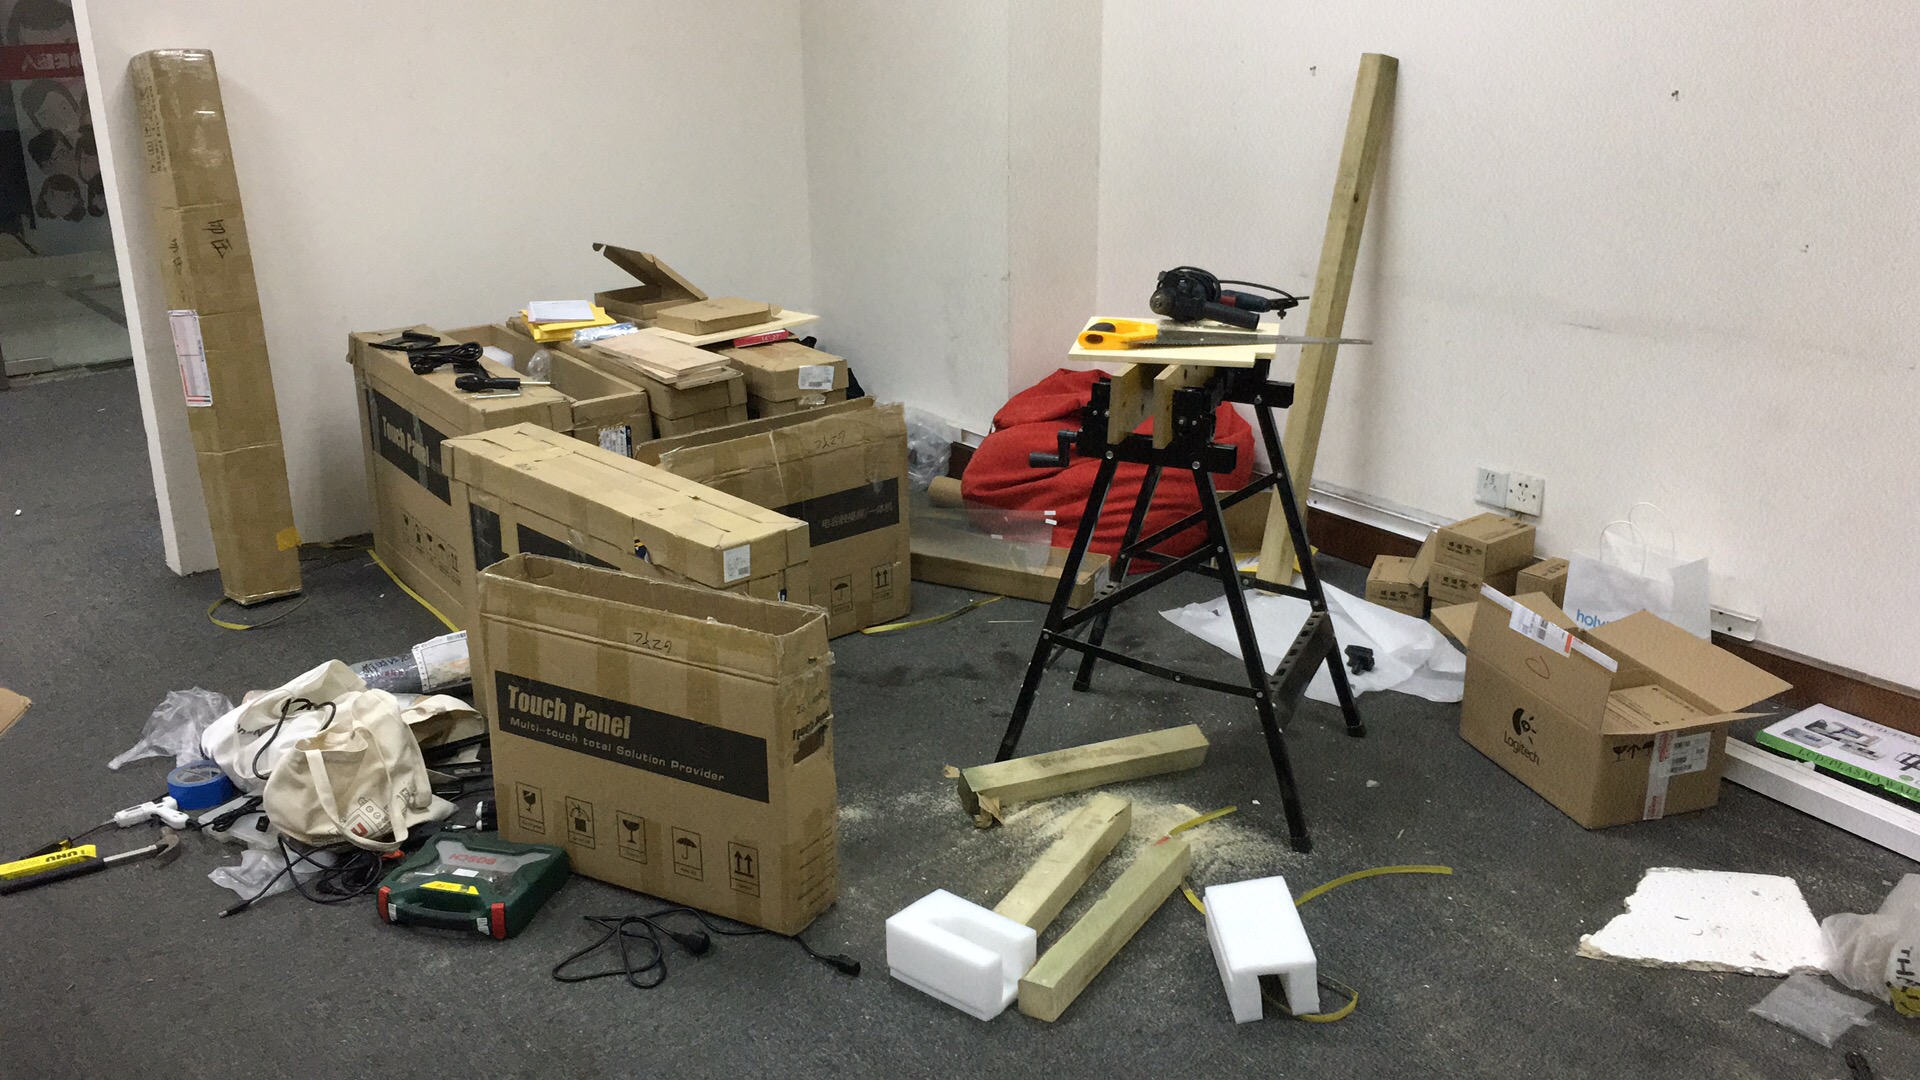
We didn’t have one. We had to take over a part of our office and convert it into a workshop and prototyping area: expect to nail, saw, drill, glue and overall build large things.
Also, a first aid kit isn’t a bad idea.
Lesson #5: You will get a lot more feedback
When you deal with physical installations, there are a lot more possibilities for users to interact.
Moreover, they are a lot more likely to have an opinion about it. It’s pretty simple; not everybody has an opinon about the design of an app, but anybody immediately knows how they feel interacting with a physical product.
Overall, be prepared to get a lot more feedback and ideas from users.
Lesson #6: Things take a lot longer with hardware
The parts you think will be hard will be easy, and the other way around. That is sometimes true for software, and is much more for hardware. On the E&JOY project, simply gluing wires for one of the installation ended up taking 3 tries and over 9 hours.
Despite your planning, physical realities bring up unforseeable constraints (e.g. catwalk camera went through the roof)
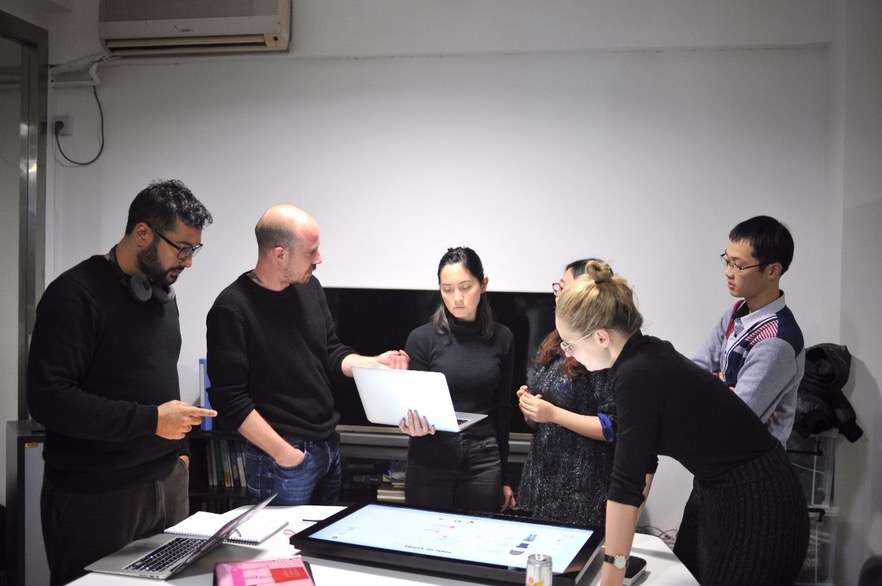
Lesson #7: Prototype… a lot!
To be able to test things, you’ll need a full blown prototype. There are a lot of things you only realize once you’re physically interacting with them.
We created multiple prototypes for E&JOY, and even then we ended up with a ton of details to adjust on site.
We could have avoided a lot of this had we built prototypes closer to the final stage.
A few more things
- Coordinate with construction; document all changes and over-communicate with the construction crew to make sure they don’t undo your work and label everything (our wiring was wiped out more than once).
- Measure 5 times, cut once… and do it all over again; approximation aren’t as forgiving in the physical world. You’ll end up being pretty sorry for a few milimeters sometimes. Again, prototyping here is your best shot, and remember to have backup parts once you do the final installation.
- Delay as much as possible; things like cabling for example; the later you do it, the better.
- Always bring all your tools; you never know what you’ll need to alter. Make sure you have spare parts too.
- Plan for more time; everything will take much longer than you’d like, especially the closer you get to the final product.
- You can’t iterate that much; you simply can’t fail that many times, there’s a very real price attached to any new part. You’ll quickly realize you also can’t diverge too much from the original idea either.
We’re already working on a few other hardware projects; if you’d like to talk to us about your idea, drop us a line at [email protected].
Stay tuned
Follow our newsletter or our WeChat account; every other week you'll receive news about what we're up to, our events and our insights on digital products, omnichannel, cross-border ecommerce or whatever the team fancies.
-
Add us on WeChat

-
Subscribe to our newsletter